That title is certainly a mouthful, but it describes exactly what this post will cover, mainly how to create an Entra ID App Registration for Interactive Login with PnP PowerShell when Working with SPFx Solutions.
Back in 2021, I published a guide on deploying SharePoint Framework (SPFx) solutions using PnP PowerShell. Since then, the SPFx build pipeline has moved from Gulp to Heft, and there have also been some changes to PnP PowerShell over the last 4 years. So now felt like the right moment to write a new updated version.
As part of that refresh, this post walks you step-by-step through creating an Entra ID App Registration specifically configured for interactive authentication with PnP PowerShell. This setup is required if you want to deploy your SPFx solutions securely and efficiently using modern authentication practices.
Related blogposts
Ensure that you’re logged in with a user account that has the necessary permissions to create an app registration, configure its API permissions, and grant those permissions (admin consent).
TL;DR
Jump straight to the summary if you wan’t a short list of instructions without the screenshots.
Create the app registration
Open your browser and go to the Azure Portal. From there, access Entra ID (you can also go directly to the Entra ID Admin Center. Note that my screenshots are from the portal view, so your interface might look slightly different). If Entra ID isn’t visible on the start screen, use the search bar at the top of the page to find it.
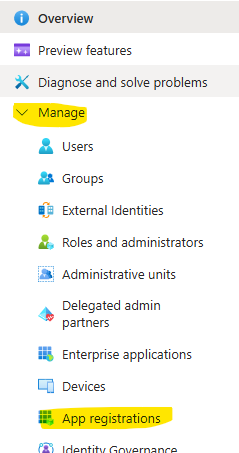
Within Entra ID, select App registrations from the menu on the left under the Manage section.
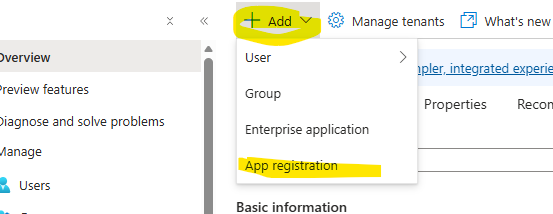
Then select Add, followed by App registration.
In the form, provide a name for your App registration (In my example I’ve named it PnP Powershell Client), and select the appropriate supported account types. If you are unsure which option to choose, select Single tenant to ensure that only users within your organization can obtain permissions through this App registration.
Then click the ‘Register’ button.

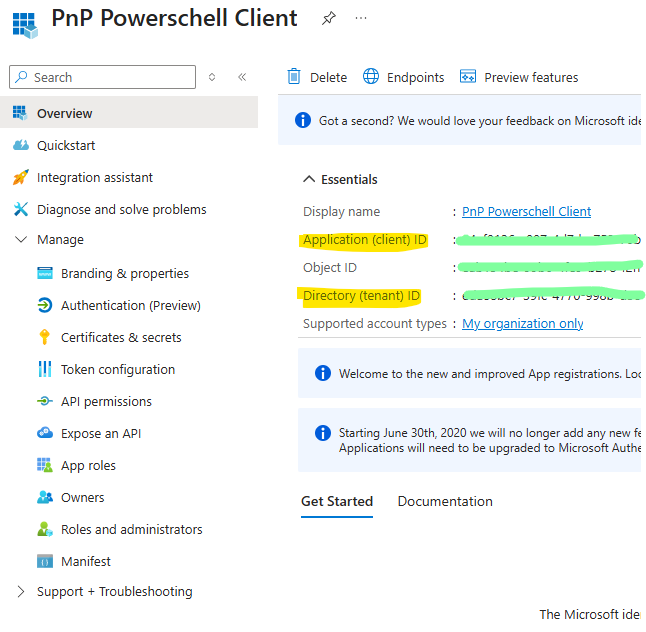
After the App registration is created, it will open automatically. You will see the Application (client) ID and the Directory (tenant) ID. Both values are required when using this App registration with PnP PowerShell, so make sure to record them. You can also return to the App registration at any time to retrieve them later.
Assign it permissions
Now it is time to assign the necessary permissions to the App registration. For this scenario, we will focus on the permissions required to deploy SPFx packages. If you intend to use this App registration for additional purposes you can add further permissions using the same process.
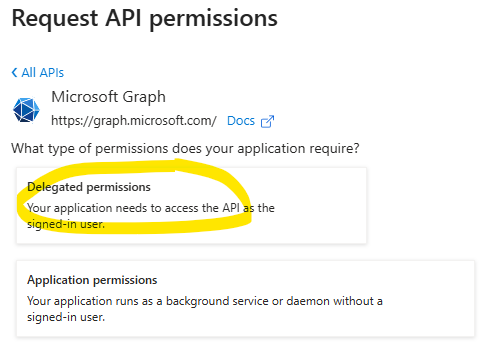
Before proceeding, it is important to understand the difference between application permissions and delegated permissions:
Application permissions
These are used when the App registration operates as a standalone application, without a signed-in user. The app authenticates with its own identity and is granted the permissions you assign. This is the model used for automated processes, scripts, and services such as PnP PowerShell running with a client secret or certificate.
Delegated permissions
These apply when a signed-in user is present. The app acts on behalf of that user and can only perform operations the user is authorized to perform. Delegated permissions are typically used by interactive applications that run in a user context.
We will perform actions as the signed-in user, so we will add the necessary delegated permissions to enable that.
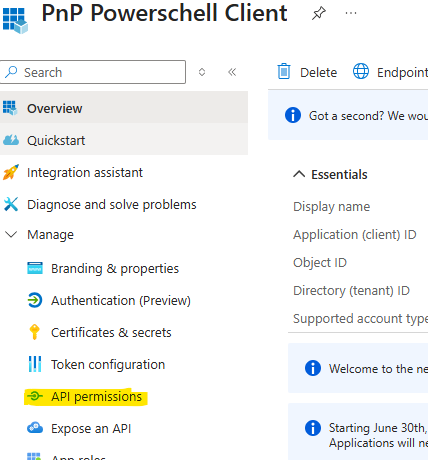
First, select API permissions from the menu on the left.
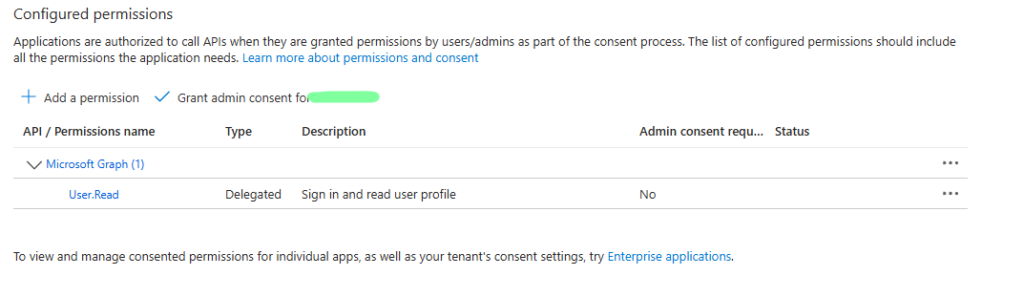
You will notice that the App registration already has the delegated permission User.Read , which is added by default. This permission is not required for our scenario, so you can either remove it or leave it as is.
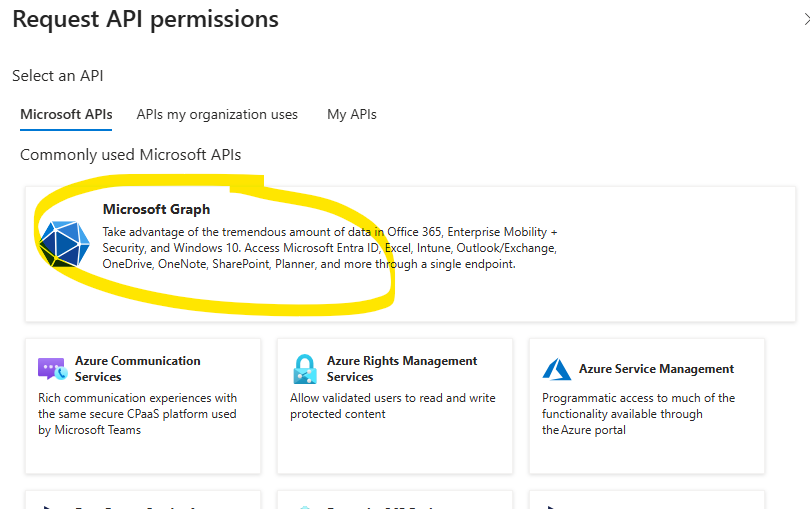
To add new permissions select Add a permission, and select Microsoft Graph. (For other usecases you can add access to other APIs from here as well)
Then select Delegated permissions
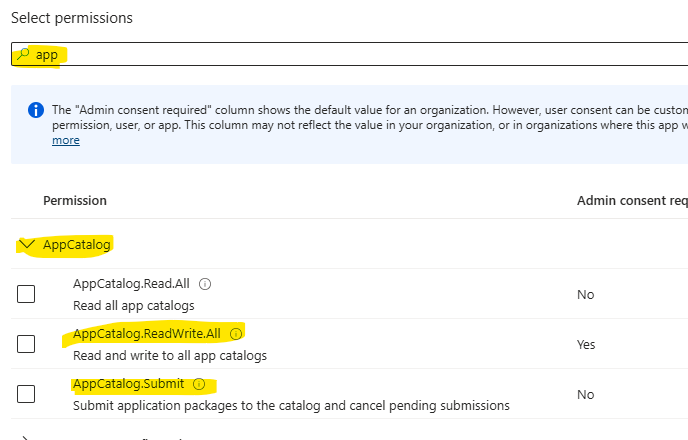
In the search field, type App, then expand App Catalog and select the permission you need. In this example, I will add AppCatalog.ReadWrite.All to the App registration.
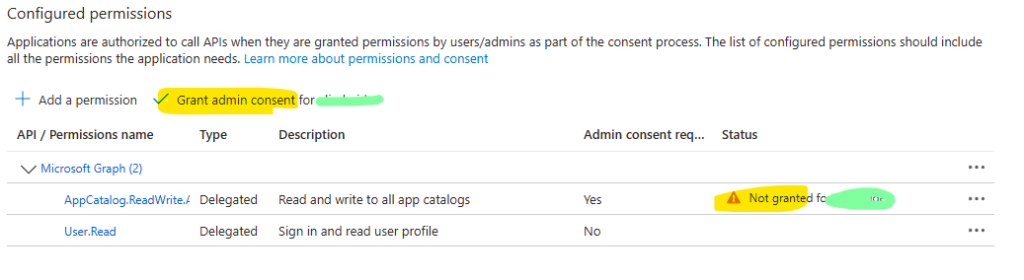
After adding the permission, you must also grant it. As shown in the screenshot below, the Status currently shows Not granted. To grant the permission(s), click the Grant admin consent for <tenant_name> button above the list.
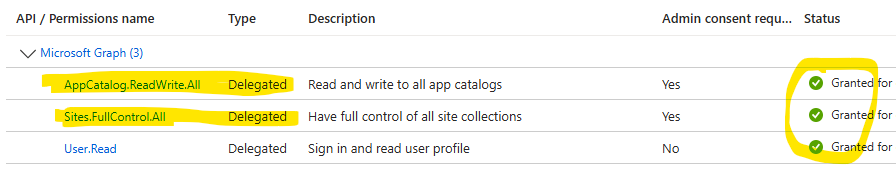
Do the same for delegated Sites.FullControl.All. When you’re finished your list should look like this.
Congfigure authentication
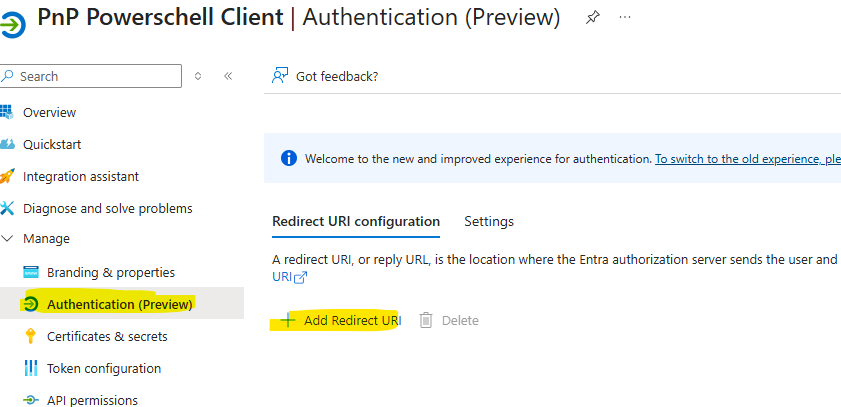
Once the permission is added, you need to configure authentication to allow PowerShell to interact with the App registration. Navigate to the Authentication (Preview) tab in the menu, and then click Add a Redirect URI.
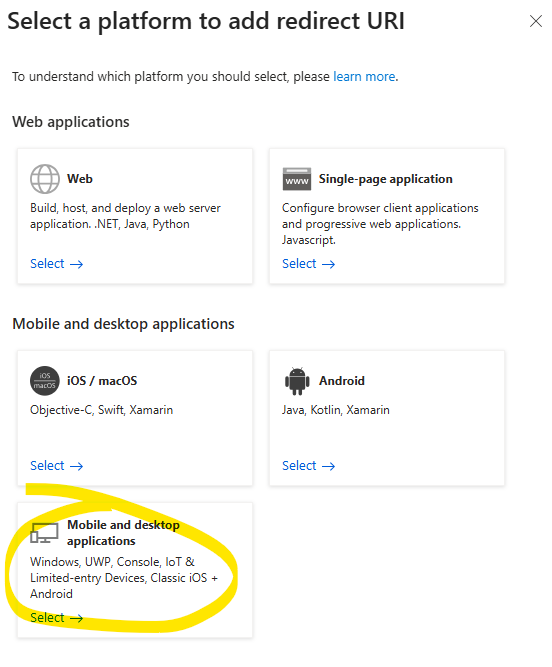
Select Mobile and desktop applications
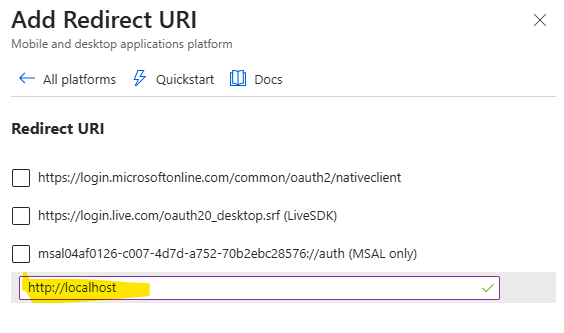
Enter the following redirect URI: http://localhost.
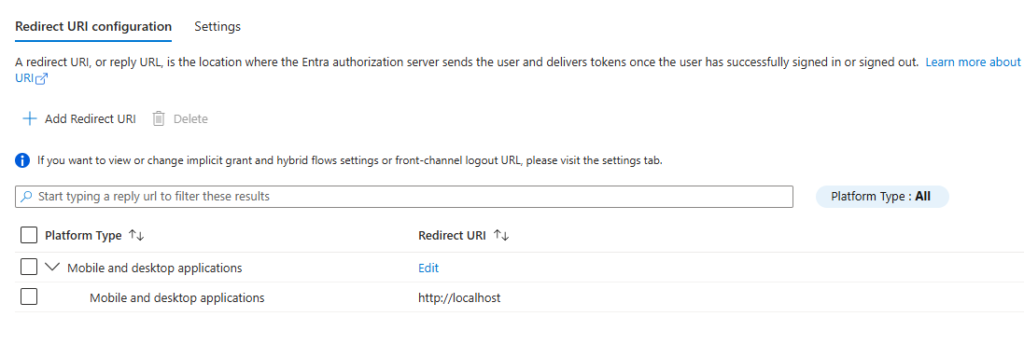
And that’s it! Your App registration is now ready to authenticate and use with PnP PowerShell.
Summary
- Open Entra ID in the Azure Portal and go to App registrations under the Manage section.
- Click Add → App registration, provide a name, and select the appropriate account type (use Single tenant if unsure).
- After creation, note the Application (client) ID and Directory (tenant) ID, which are required for PnP PowerShell.
- Assign the necessary permissions: Navigate to API permissions, add the required delegated Graph permissions (e.g.,
AppCatalog.ReadWrite.AllandSites.FullControl.Allto work with SPfx solutions), and click Grant admin consent. - Configure authentication by going to the Authentication (Preview) tab, selecting Add Redirect URI, choosing Mobile and desktop applications, and adding
http://localhost.
Your App registration is now ready to authenticate and use with PnP PowerShell.
Resources
- Register an Entra ID Application to use with PnP PowerShell (PnP PowerShell docs)
The official documentation for PnP PowerShell walks through the same registration process demonstrated above, though it does not specify the exact permissions required for deploying SharePoint Framework solutions. Their article also includes guidance on configuring an app registration for app-only authentication, which may be useful depending on your deployment scenario. - How to register an application in Microsoft Entra ID (Microsoft docs)
- Understanding Microsoft Entra ID App Registrations, Enterprise Apps and Service Principals (Martin Heusser | M365 MVP, blog) Basically all you need to know around app registrations.

If you are interested in Microsoft 365 Development you might also like my other blogposts in this category.
Also, if you have any feedback or questions, please let me know in the comments below. 🙂
Thank you for reading, and happy coding!
/Eli
If you want to support my content you can
1 thought on “Create an Entra ID App Registration for Interactive Login with PnP PowerShell When Working with SPFx Solutions”